Skip to content
CDNetworks Documentation
Adding Registry Users
Admin portal users can use the following procedure to add registry users.
Note: Non-admin portal users are not permitted to add registry users.
- In the left pane, click Image Registry > Registry Users.
- At the top right of the Registry Users page, click the + Add New User button.
- Complete the fields in the Add User form. Required fields are denoted by an asterisk (*).
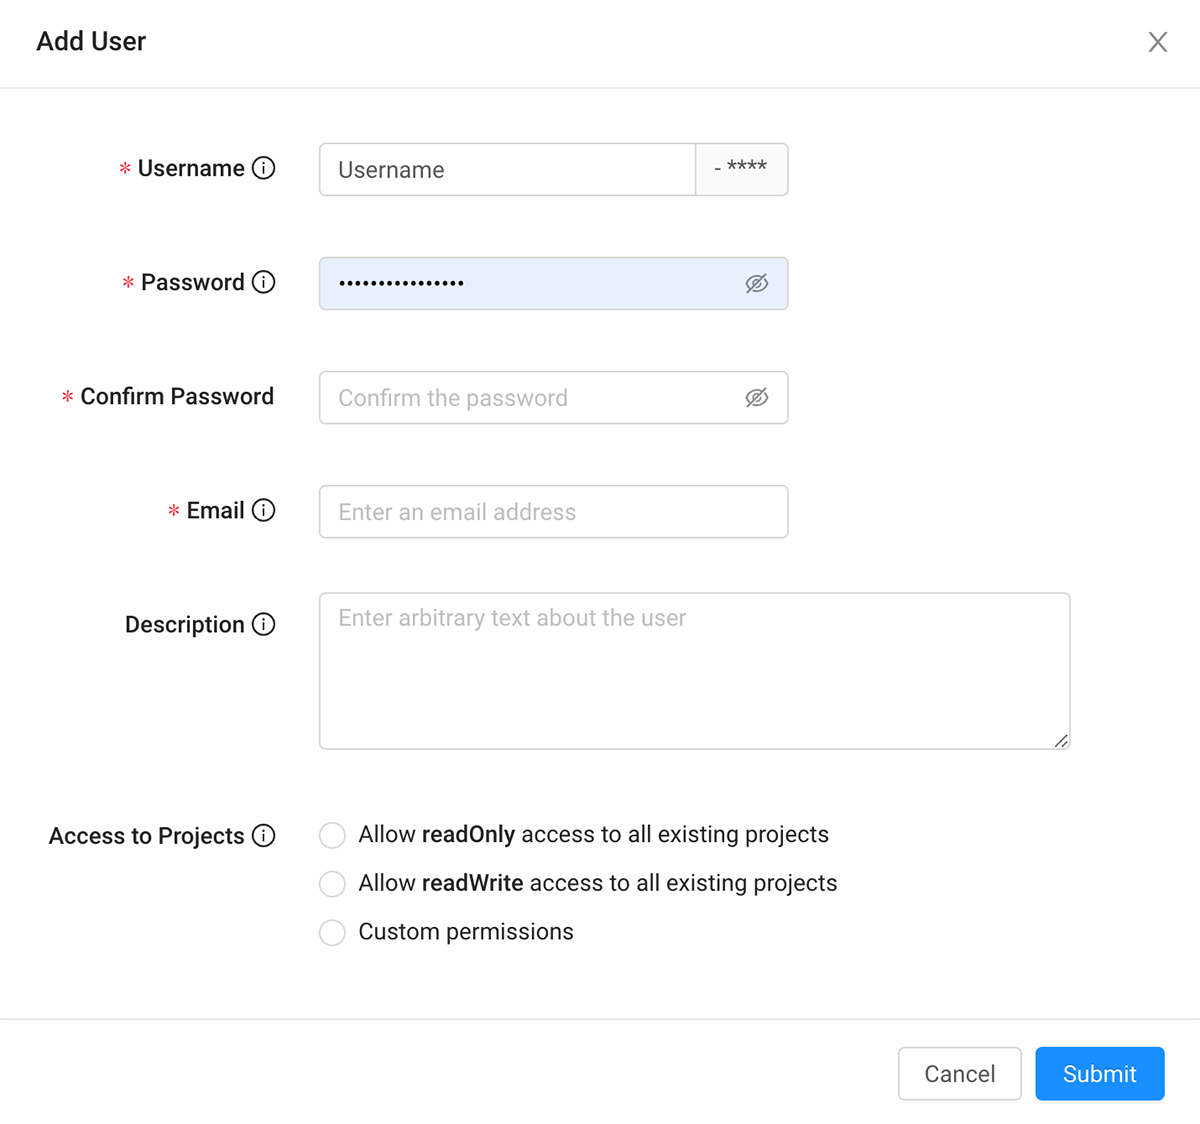
| Field | Description |
|---|---|
| Username | Prefix to be used as part of the registry user's username. The username can contain up to 15 characters, and allows only lower case alphanumeric characters, ‘-’ and ‘.’. To avoid naming collisions across registry users of different customers, ECP appends a fixed-length random string to this prefix to form a complete username when it creates the new registry user. |
| Password | Case-sensitive password for the new registry user. The password must be 8 to 20 characters long and have at least one lowercase letter, one uppercase letter, and one number. |
| Confirm Password | Same case-sensitive password typed in the Password field. |
| Email address for the new registry user. | |
| Description | Optional description about the new registry user (up to 20 characters). |
| Access to Projects | Select the projects that will be accessible to the new registry user and the new registry user's access type. Choices are:
|
- Click the Submit button.
Note: When you create an ECP registry user, a corresponding imagePullSecret gets created automatically.