CDNetworks Documentation
Updating a Server Certificate
On CDN Pro, each certificate is versioned, and each version is not editable once saved. You can deploy each version independently to the staging and production environments. There can be only one version deployed in each environment at any time. Deploying a new version replaces the old one automatically. Therefore, if you need to update an expiring certificate in production, create a new version of that certificate and deploy to production to replace the old one. All properties using the old certificate in production pick up the new version automatically.
CDN Pro sends an email notification when a server certificate used in production is close to its expiration date. For convenience, CDN Pro supports certificate auto-renewal through Let's Encrypt, so you never need to worry about the expiration of your certificates. If you prefer to renew your certificates manually, perform one of the following procedures.
If you already have a new CA-signed certificate with private key and chain certificate
-
In the left pane, click Certificates and choose Server Certificates.
-
Click a certificate name.
OR
In the Actions column, click the vertical ellipsis for the certificate you want to edit, and then select Edit. -
To change the name of the certificate, move your mouse to the right of the certificate name at the top of the form. When the pencil icon appears, click it and enter the new name. When done, click the checkmark at the bottom right of the field in which you typed the name.
-
Edit the Share With setting now or after step 5 if desired.
-
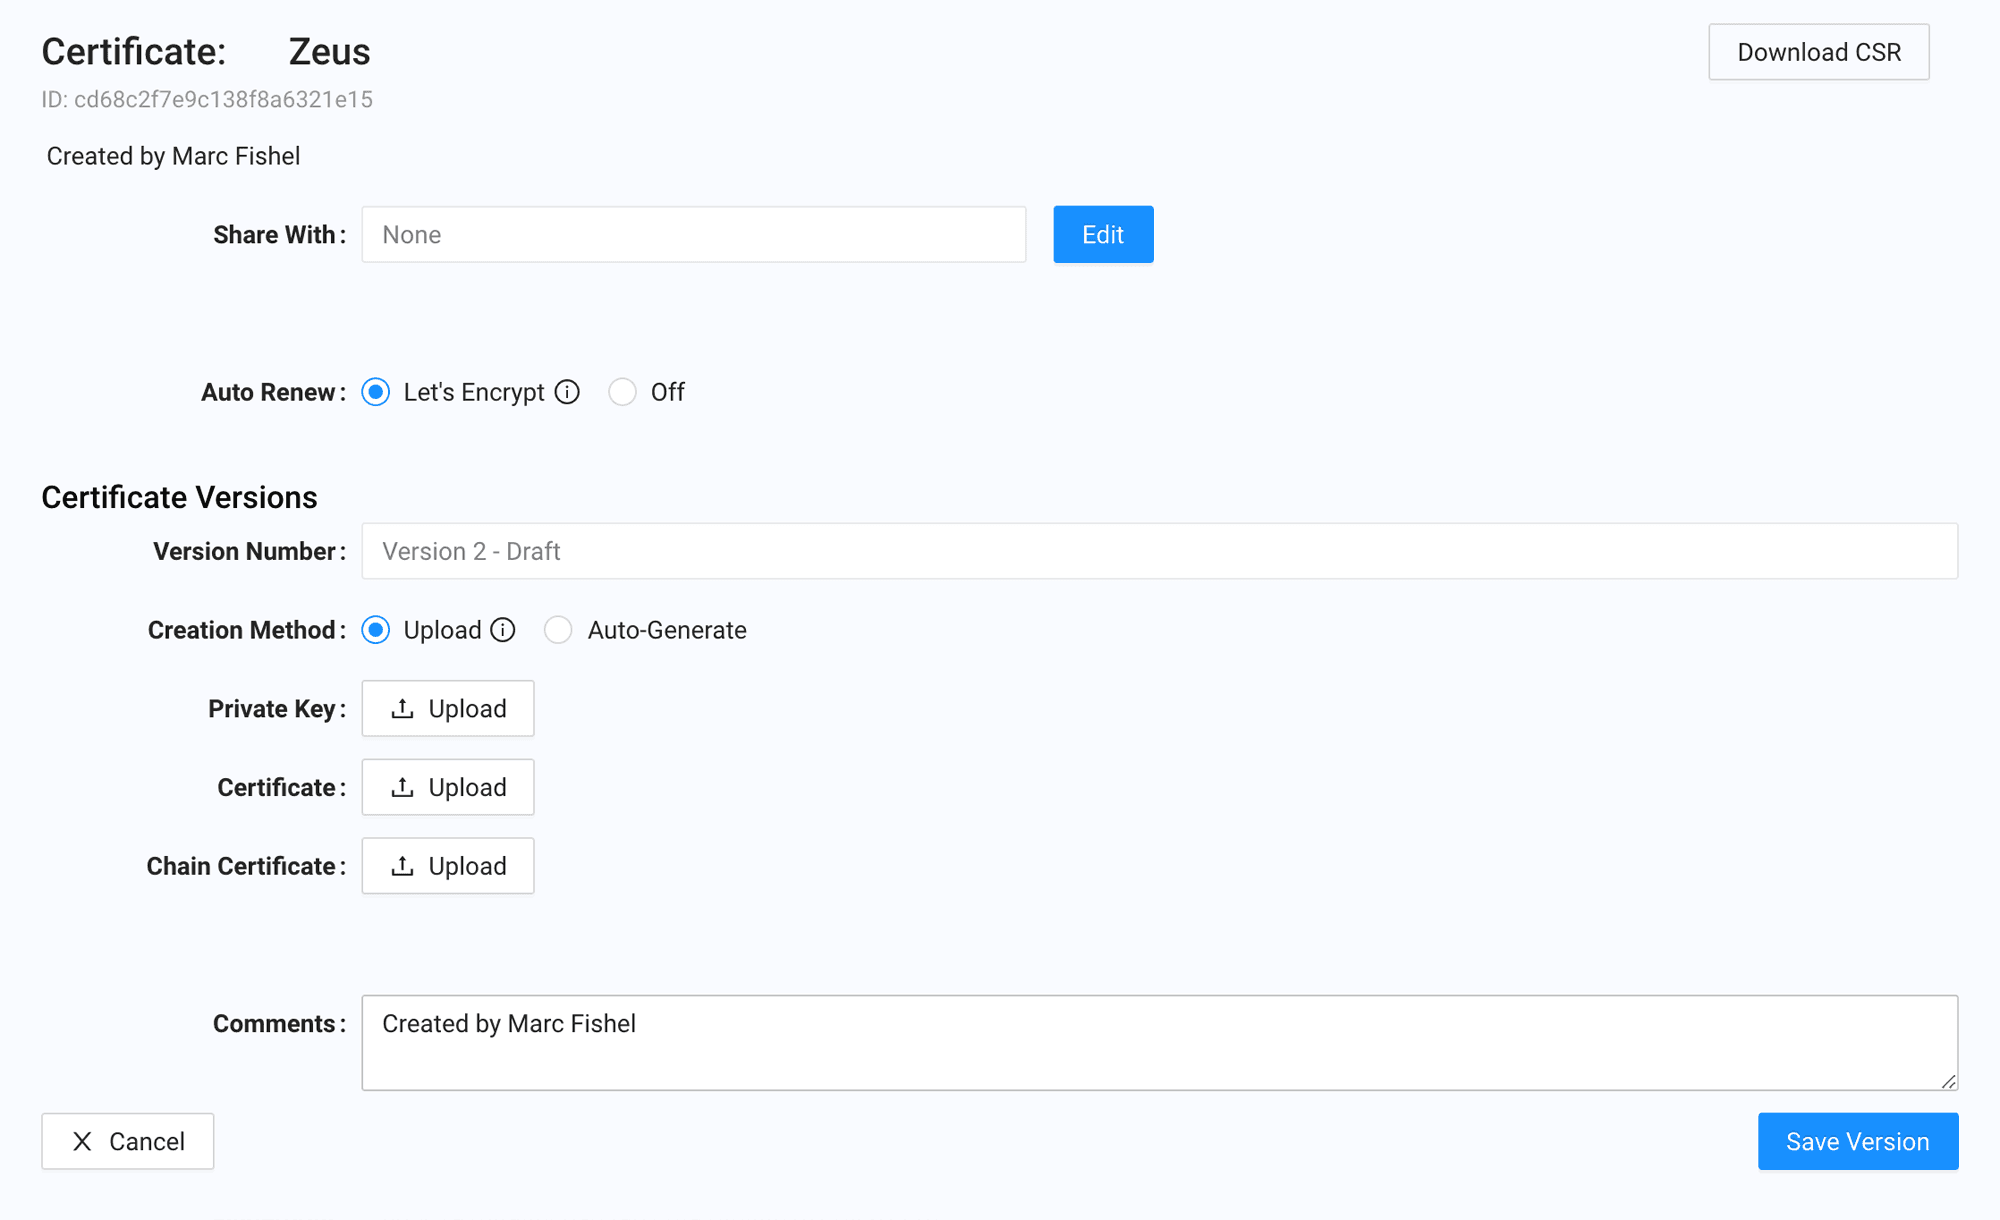
Click Create Version.

-
Set the Creation Method setting to Upload. Then upload the private key, certificate, and chain certificate files. Click Save Version followed by OK at the confirmation pop-up.
-
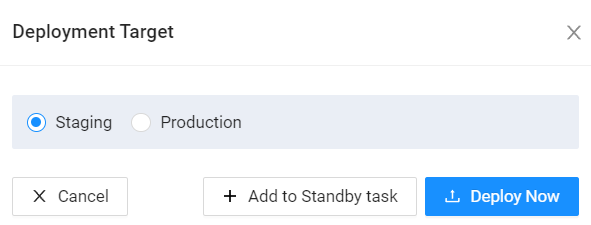
Click the Deploy button and select Staging or Production.
-
To deploy the certificate now, click Deploy Now. To deploy it at a later time, click Add to Standby task to add this task to the standby queue.
If you need a CSR to apply for the new certificate from a CA
If your company's security policy requires the new certificate to have a new private key that is different from the expiring one, perform the following procedure to create a self-signed version. Otherwise, skip steps 5 and 6.
-
In the left pane, click Certificates and choose Server Certificates.
-
Click a certificate name.
-
To change the name of the certificate, move your mouse to the right of the certificate name at the top of the form. When the pencil icon appears, click it and enter the new name. When done, click the checkmark at the bottom right of the field in which you typed the name.
-
Edit the Share With setting now or after step 5 if desired.
-
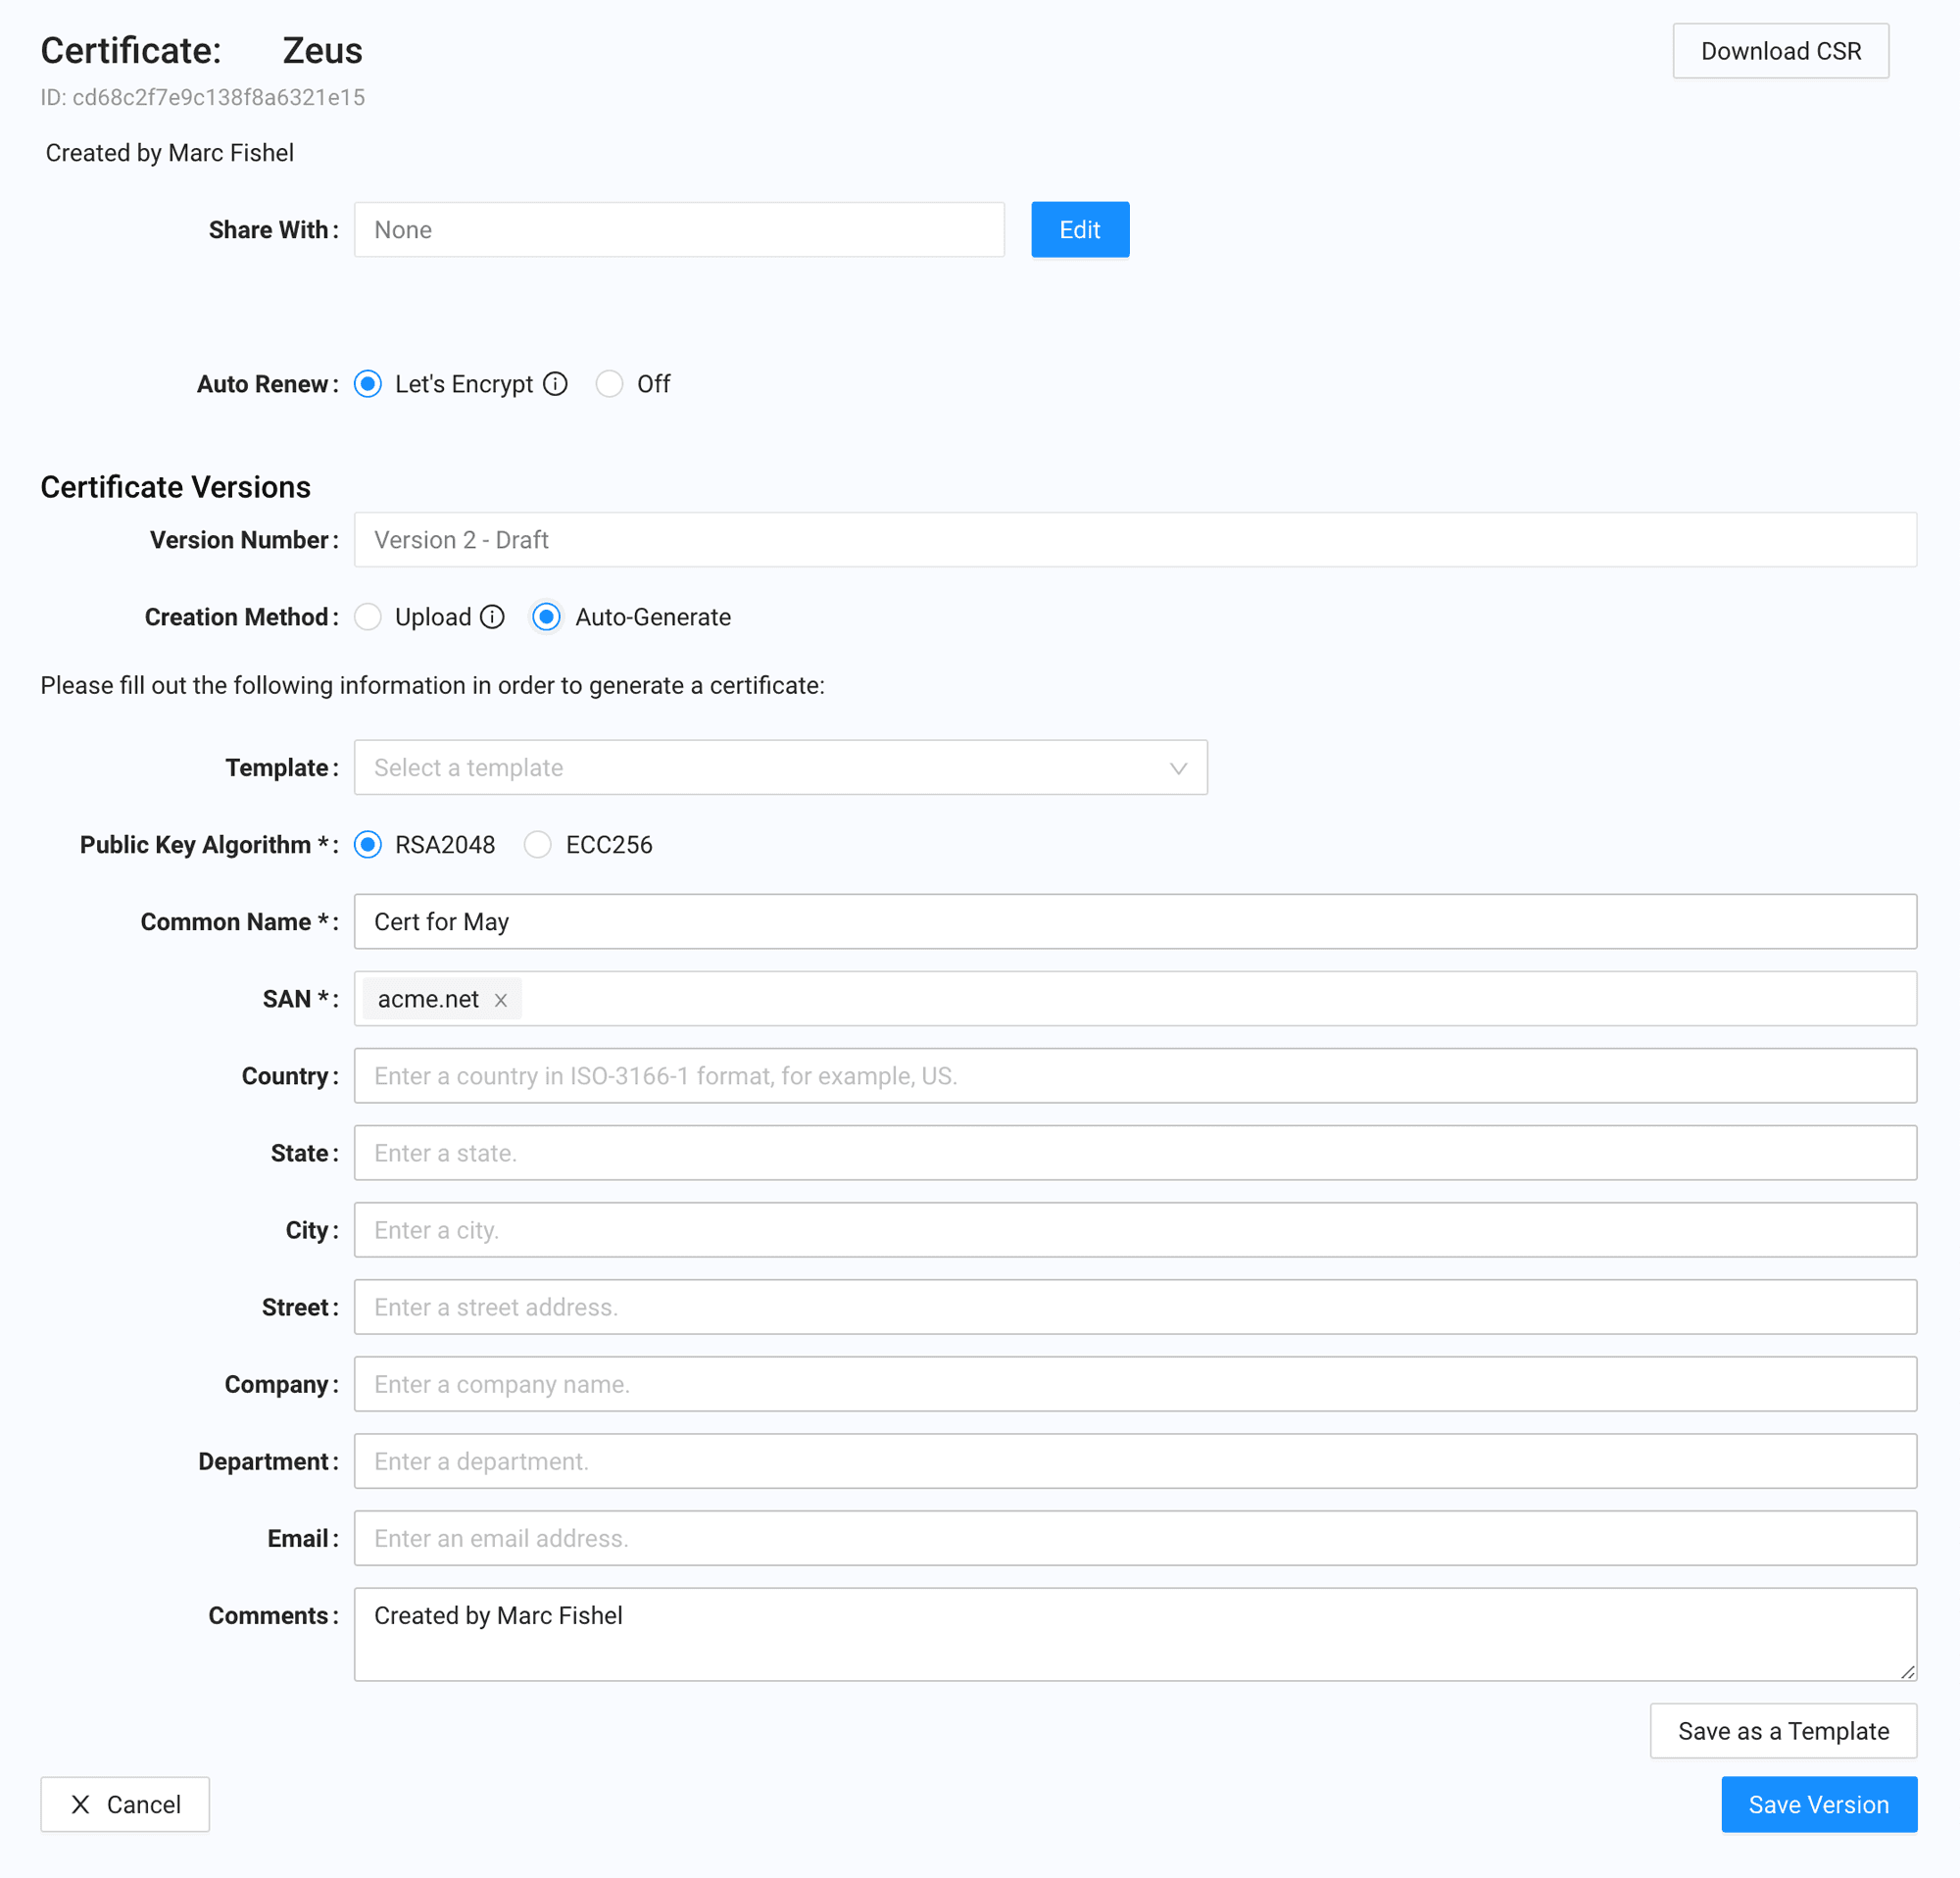
Click Create Version.
-
Set the Creation Method setting to Auto-Generate. Then complete the required fields (refer to details here) and click Save Version.
-
Click the Download CSR button at the top of the Certificate Details page to generate the CSR from the latest version.
-
Send the downloaded CSR to the CA to apply for a new certificate.
-
When you receive the new CA-signed certificate, return to the same Certificate Details page and click Create Version.
-
With Creation Method set to Upload, upload the new certificate and, optionally, the chain certificate. Click Save Version. Do not worry about the private key because it will be the same one as the last version.
-
Click the Deploy button and select Staging or Production.
- To deploy the certificate now, click Deploy Now. To deploy it at a later time, click Add to Standby task to add this task to the standby queue. Note: To update a certificate, you must be the owner of the certificate.