CDNetworks Documentation
Managing Roles
A role is a collection of one or more permissions that can be performed within the portal.
Adding a Role
Administrators add roles from the Roles tab on the Identity & Access Management page. As part of this procedure, administrators assign roles to users, which define the activities that users can perform in the portal.
-
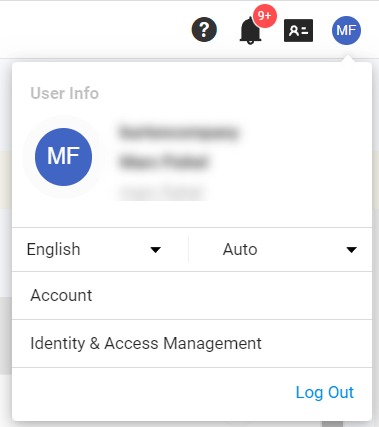
At the top right of the portal, click your initials, and then select Identity & Access Management.
-
At the top of the page, click Roles.
-
At the right side of the page, click the + Add Role button.
- Complete the fields in the Add Role form. Required fields are denoted by an asterisk (*).
| Fields | Description |
|---|---|
| Role Name | Enter a name for this role. |
| Description | Enter a description for this role. |
| Role Status | If you are a reseller, a Role Status field allows you to choose whether the role can be used by your child customers. |
| Permissions | By default, new roles have no permissions. Therefore, when you create a role, you must add the appropriate permissions for that role. Click + Add Permissions. In the dialog box, select the check boxes for the permissions you want to grant to this role and click Save. Note: Selecting a check box in the All features row at the top selects all the check boxes in that column. |
- Click Save.
Editing a Role
Administrators edit roles from the Roles tab on the Identity & Access Management page.
-
At the top right of the portal, click your initials, and then select Identity & Access Management.
-
At the top of the page, click Roles.
-
From the Roles page, click the name of the role you want to edit, and then click Edit at the top right of the Role Details page.
OR
In the Actions column, click the vertical ellipsis for the role you want to edit, and then select Edit. -
At the top right, click the Edit button.
-
Make your changes in the Edit Role form (for assistance, see the table above). Required fields are denoted by an asterisk (*).
-
Click Save.
Deleting a Role
Administrators delete roles from the Roles tab on the Identity & Access Management page.
-
At the top right of the portal, click your initials, and then select Identity & Access Management.
-
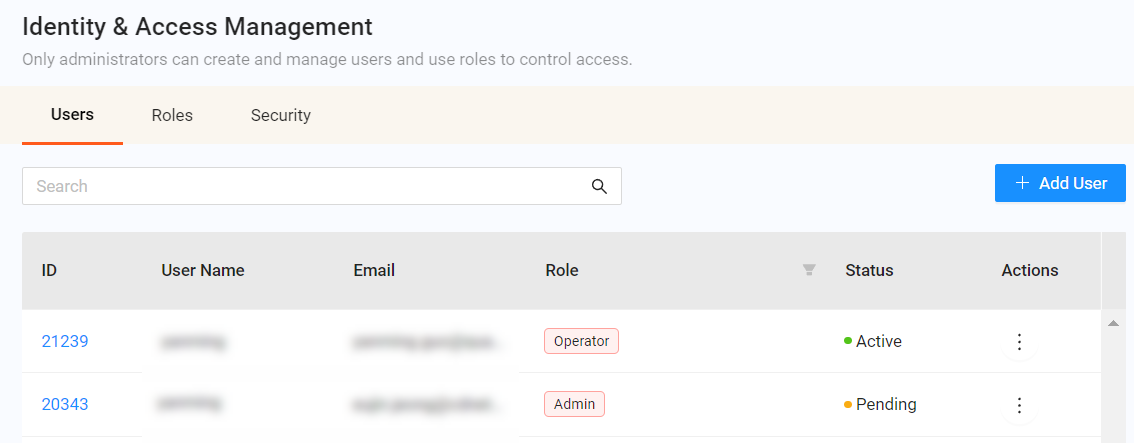
At the top of the page, click Roles.
-
Delete one or more roles:
- To delete one role from the Roles page, click a role's vertical ellipsis in the Actions column, and then select Delete.
- OR
- To delete more than one role from the Roles page, check each role, and then click Delete at the top right of the page.
- OR
- To see the details of a role before deleting it, click the role name. To delete the role, click Delete at the top right of the Role Details page.
- If the role has no assigned users, click Yes, delete! to delete the role. If the role has one or more assigned users, click Un-assign from all users and delete to delete the role.