CDNetworks Documentation
Managing Users
Adding a User
Administrators add users from the Users tab on the Identity & Access Management page.
-
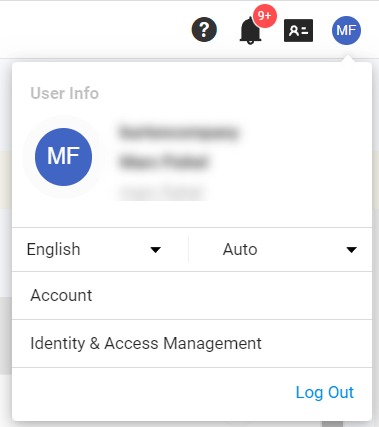
At the top right of the portal, click your initials, and then select Identity & Access Management.
-
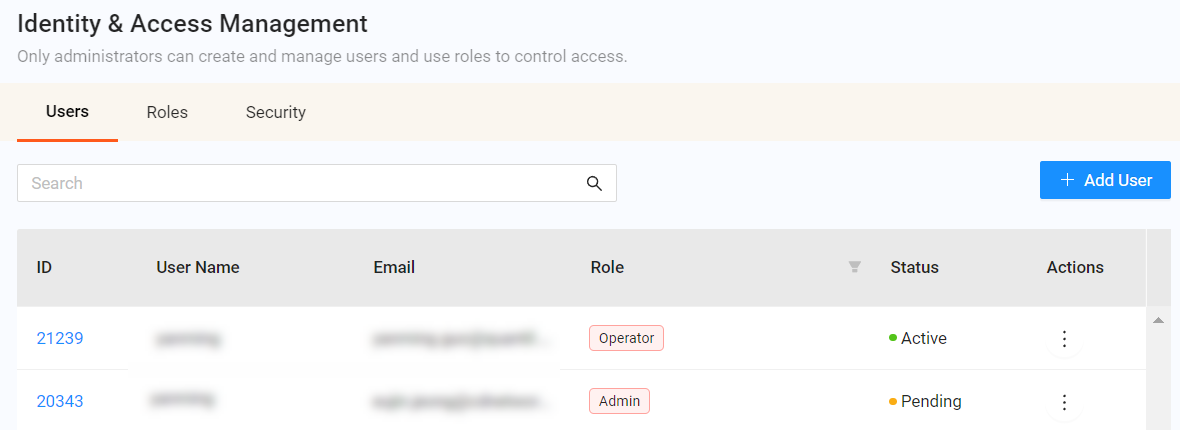
With the Users tab of the Identity & Access Management page displayed, click the + Add User button at the right side of the page.
- Complete the fields in the Add User form. Required fields are denoted by an asterisk (*).
| Fields | Description |
|---|---|
| Enter this user's email address. | |
| Roles | To assign one or more roles to this user, click + Add Roles, enter a role name and check one or more roles in the Add Roles dialog box, and then click the Save button. If you decide not to add one or more roles to this user, check them, and then click the Delete button in the Roles section. |
| Description | Enter a description for this user. |
- Click Save & Invite. An invitation to join the portal is sent to the user.
- The user clicks the Join Now! button in the invitation, enters the required information on the Join CDNetworks Portal page, and then clicks the Save & Join button.
- The user can now sign in to the portal.
Resending or Canceling Invitations
If a user has been invited to create a portal user account, the user's initial status is pending. You can select the pending user to resend or cancel the invitation.
-
At the top right of the portal, click your initials, and then select Identity & Access Management.
-
With the Users tab of the Identity & Access Management page displayed, click the vertical ellipsis for the user whose invitation you want to resend or cancel, and then select Resend Invitation or Cancel Invitation. When prompted to resend or cancel the invitation, click OK.
Editing a User
Administrators edit users from the Users tab on the Identity & Access Management page.
-
At the top right of the portal, click your initials, and then select Identity & Access Management.
-
With the Users tab of the Identity & Access Management page displayed, click the ID of the user you want to edit.
OR
In the Actions column, click the vertical ellipsis for the user you want to edit, and then select Edit.
Tip: Use the filter at the top left of the page to filter users.
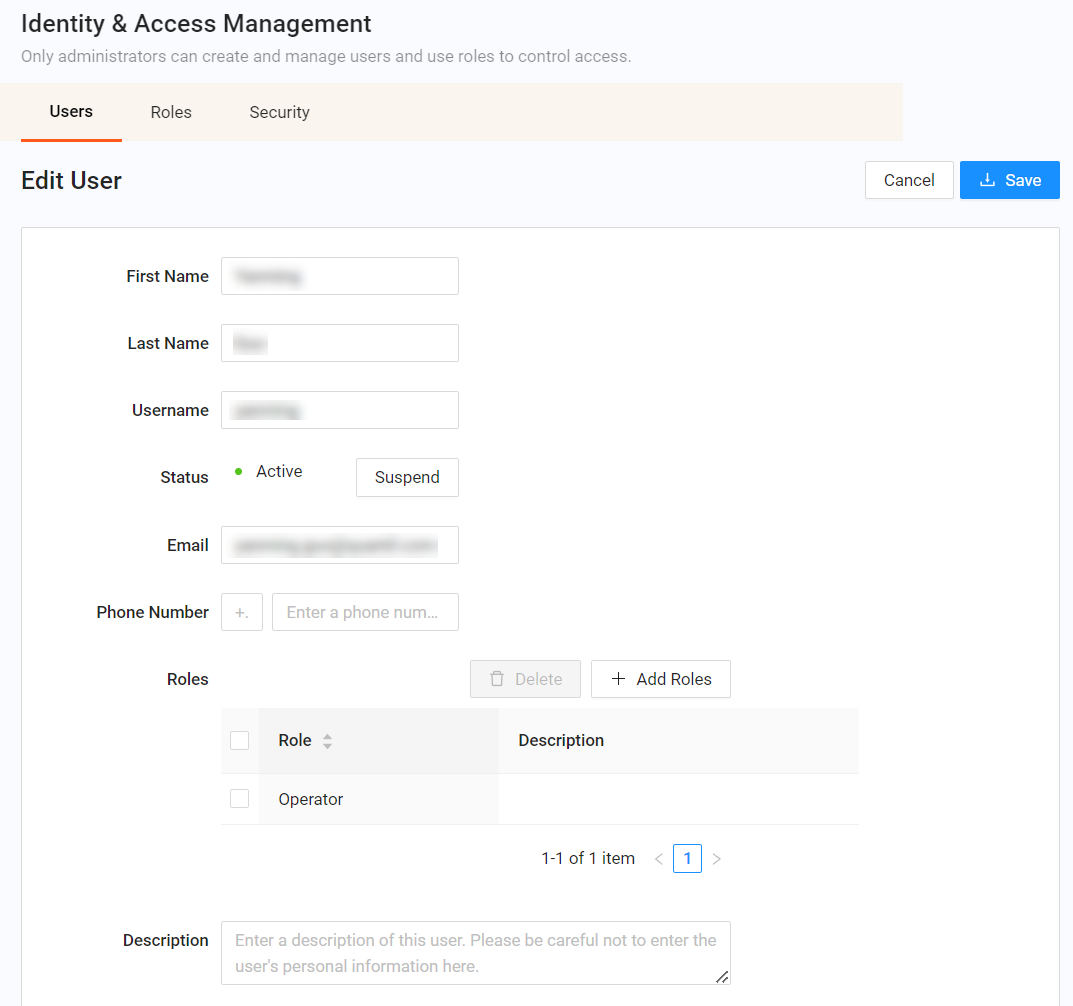
- Make your changes in the Edit User form.
| Fields | Description |
|---|---|
| First Name | Enter the first name of this user. |
| Last Name | Enter the last name of this user. |
| Username | Enter the username that this user will use to log in to the portal. |
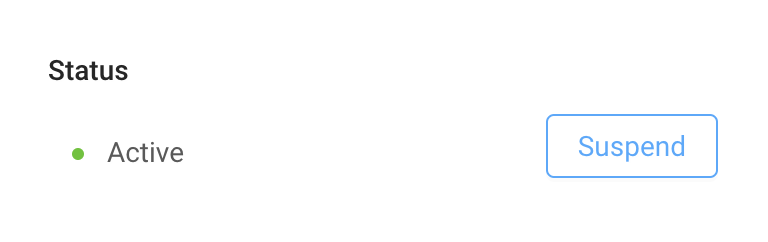
| Status | Shows the user's current status. A button to the right allows you to change the user's status between active and suspended. |
| Enter this user's email address. | |
| Phone Number | Enter the telephone number for this user. |
| Roles | To add one or more roles to this user, click the + Add Roles button, enter a role name and check one or more roles in the Add Roles dialog box, and click the Save button. If you decide not to add one or more roles to this user, check them, and then click the Delete button in the Roles section. |
| Description | Enter a description for this user. |
- Click Save.
Deleting a User
Administrators delete users from the Users tab on the Identity & Access Management page.
-
At the top right of the portal, click your initials, and then select Identity & Access Management.
-
In the Actions column on the Identity & Access Management page, click the vertical ellipsis of the user you want to delete, and then select Delete.
Tip: Use the filter at the top left of the page to filter users.
- When prompted to confirm the deletion, click OK to delete the user.
Suspending a User
Administrators suspend users from the Users tab on the Identity & Access Management page. Suspending a user temporarily blocks the user's access to the portal; however, the user's username, roles, password, and other settings are not deleted. Users are not notified that they have been suspended. They simply cannot log in anymore.
If a user is logged in at the time of suspension, the user can continue using the portal, but cannot log in again after logging out. If a suspended user tries to log in, a message states that the account is suspended and directs the user to the site administrator.
The suspended user will not be able to log in to the portal until the user is reactivated.
-
At the top right of the portal, click your initials, and then select Identity & Access Management.
-
With the Users tab of the Identity & Access Management page displayed, perform one of the following steps:
- In the Actions column, click the vertical ellipsis for the user you want to suspend, and then select Suspend. When prompted to suspend the user, click OK.
- To view the user's details before suspension, click the ID of the user you want to suspend. Review the user details, and then click the Suspend button next to the Status field followed by the Save button at the top right of the form. When prompted to update the user, click OK.
- In the Actions column, click the vertical ellipsis for the user you want to suspend, and then select Suspend. When prompted to suspend the user, click OK.
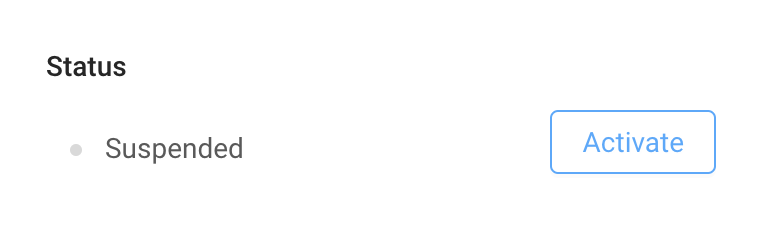
Reactivating a Suspended User
From the Users tab on the Identity & Access Management page, administrators can reactivate users that have been suspended. Reactivating a user restores the user's previous login credentials and access privileges.
-
At the top right of the portal, click your initials, and then select Identity & Access Management.
-
With the Users tab of the Identity & Access Management page displayed, perform one of the following steps:
- In the Actions column, click the vertical ellipsis for suspended user you want to reactivate, and then select Activate. When prompted to activate the user, click OK.
- To view the user's details before reactivation, click the ID of the user you want to activate. Review the user details, and then click the Activate button next to the Status field followed by the Save button at the top right of the form. When prompted to update the user, click OK.